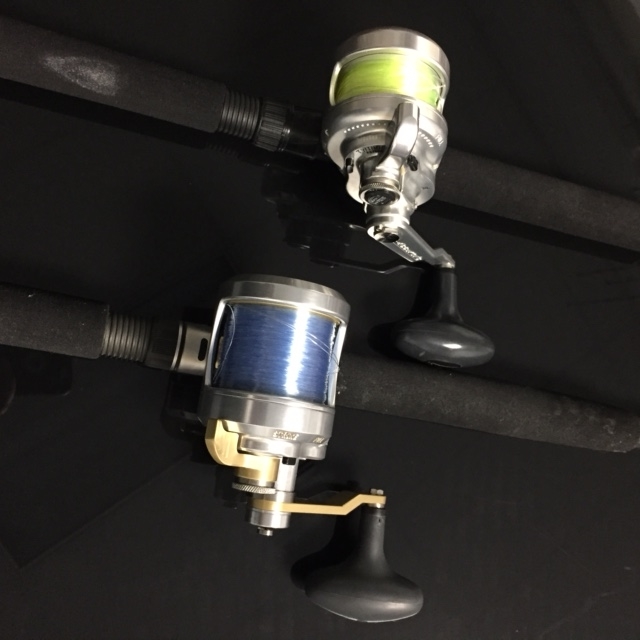
Custom Color Reels
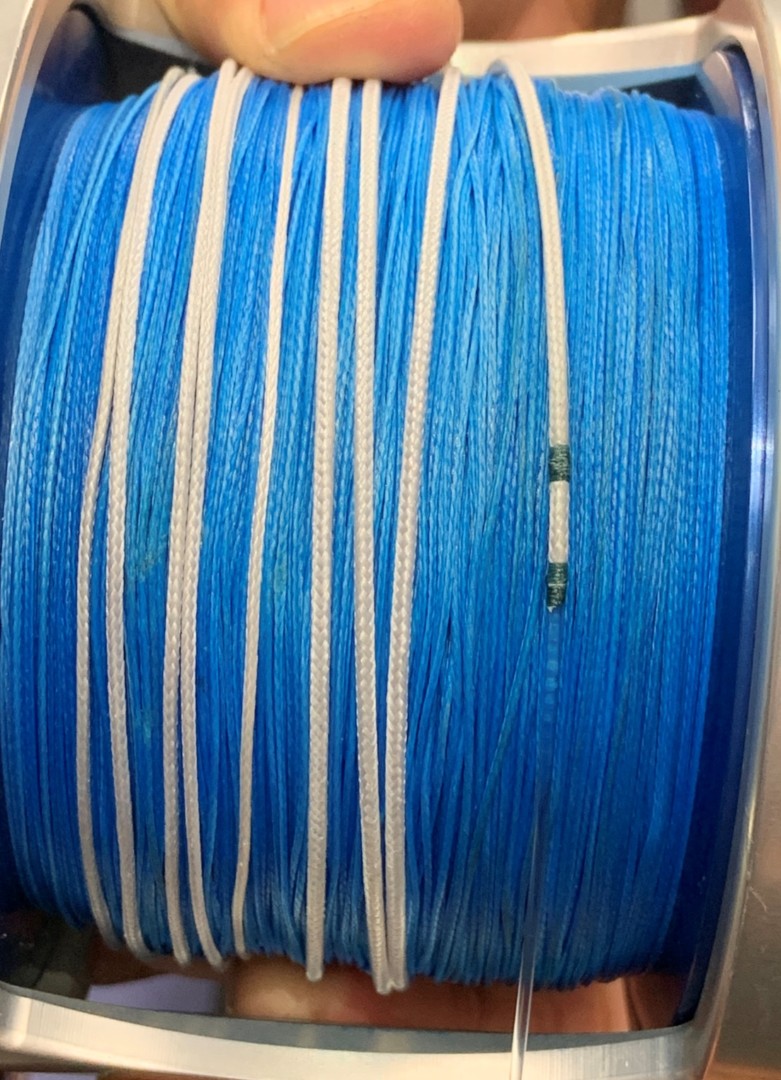
Super Clean Hollow Spectra Connection! – How To Tie The Nail Knot Finish
Hollow Braid Connections – Hollow to Solid/Hollow to Fluoro or Mono
Connecting different types of fishing line can be a struggle for some anglers. What knot do I tie? How do I tie it? Fluoro, Mono, Braid to Braid…. Often times you would need several knots to tie them all or rely on a deckhand or tackle store employee to do it for you. With a bit of practice and few tools you can do this connection yourself.
Let me start by saying I used to and for many applications still tie knots. The FG, RP, Bob Sands, Tony Pena, Albright, and Slim Beauty are all in my arsenal. I usually tie the Slim Beauty because I have chubby old man hands and I tie it best. I was taught this knot by Kenichi Iida many years ago. (What you tie best is often not given enough thought by anglers. Meaning if you struggle to tie an FG and can only tie a decent one but you are a master of the RP then tie the RP.) It works for me and I never really had any breakage on a fish. That said I can recall several occasions when the Slim Beauty wasn’t slim enough and after all day struggling for it to go through small guides or making long casts, I have found it to get damaged and had to re-tie it often. Also, when doing our demo trips tying and tightening these knots before and during fishing can destroy your hands for the better part of the day. Thank goodness for knot pullers!
“The Nail Knot finish”


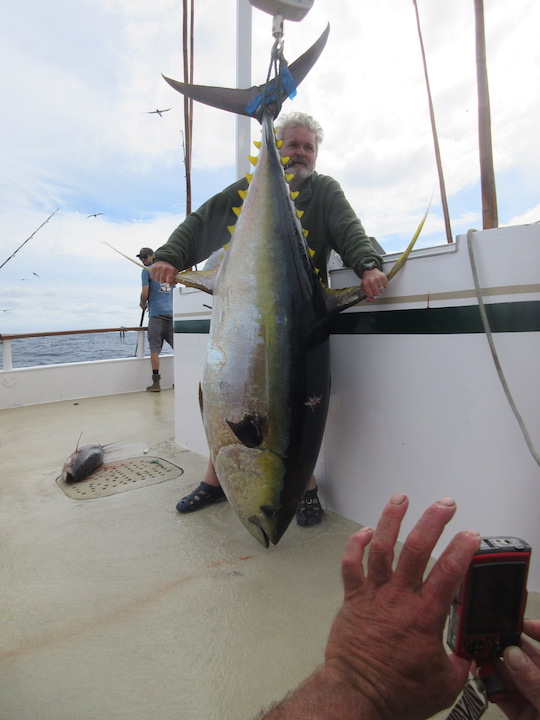
Long time Accurate Pro-Staffer Gary Teraoka shared this finish with me a while back and now I would like to share it with you. I have seen other hollow connection videos online (Participated in a few) and in books but this one is finished a bit different. It is easy, doesn’t require too many special tools, it has repetition so it’s easy to master and most importantly we have never seen one fail. In knot tying, repetition makes you good. It’s easy to get good at something you do all the time. Please know we are not sharing with you a new connection we started last week! Gary has been using this one for years and has perfected what we are about to show you. This connection has accounted for many big Tuna(100-250#) over the years, more than a dozen Blue Marlin in Costa Rica in July 2019, and most recently some big Yellowtail and White Sea Bass at Catalina Island.
The connection itself is not much different than any other hollow connection. The true properties of the connection are all about the line holding itself using the “Chinese Finger Trap” style compression. As the line tightens with tension it creates a stronger bond. The way it is finished is the unique part. We have all seen the serve and the crimp. Those both work just fine when you have the time, tools and materials, but this one we find to be easier, more compact, and doesn’t require as many tools!
Tip: Get good at the nail knot!!
I like to fish solid braided line for many applications. My favorite line is (and has been for a while) Tufline XP. That said I really like the new stuff from Diamond Fishing Products, their new Diamond Braid is dynamite. I don’t like fishing a full spool of hollow braid due to some bad experiences I have had with it flattening out and with line twist being a bigger factor in the hollow. So, I use the solid braided line as my main line and use small pieces of hollow to transition from one line to another. I will explain later…
In many cases I am using small reels to try and catch big fish.
| Braid Fishing | |||
| Reel Model | Main Line | Hollow Connector | Fluorocarbon |
| BV-400 | 50# | 50# | 30-40# |
| BV-500 | 65# | 50# | 40-50# |
| BV-600 | 80# | 60# | 50-60# |
On these 3 models I am rigging them this way. Of course, if I need more abrasion resistance, I go up in size on the fluorocarbon but for the most part this is how I rig them. I fill the spool full (1/8 inch from the top) with the main line and then put the main line with a loop needle 2 feet into the hollow connector and finish it off with 2 nail knots. (No Glue Needed) Then I put the fluoro 2 feet into the other side of the hollow using a hollow needle and then finish it off with 2 nail knots and some Tac Glue. The glue, for me, is just a little insurance.
The Glue is not needed on the solid braid to hollow connection because they are rough surfaces and will grab each other so well. It is much more of a physical bond!
For the bigger fish and times when I want to keep my spool full, I stack the braid. Meaning I use a smaller braid under a larger braid. There are several reasons for this. First and foremost is that I want heavier line when I am near the end game with a fish. If my line rubs the boat, other anglers’ lines, or any other thing that can happen I would rather have it happen with larger braid. The second most important reason is that I want to keep my spool full, so I have the speed I want and my drag acts right because the spool stays full. Below are some examples of what I am talking about.
| Braid Fishing Stacking braid for abrasion | |||||
| Reel Model | Main Line #1 | Hollow Connector | Main Line #2 | Hollow Connector | Fluorocarbon |
| BV-800 | 80# | 80# | 100# | 130# | 100# |
| BV-1000 | 100# | 100# | 130# | 130# | 130# |
On the BV2-800 I usually fish about 150-200 yards of 100# on top of the 80# and on the BV2-1000 I am fishing about 100yds of 130# on top of the 100#. The BV2-800 is my Bluefin jig reel and the BV2-1000 is my Bluefin flying fish balloon/kite reel.
So now with a little background and what to do on which reel and why we do it, let me show you how we do it. If you learn well from reading, then continue. If you learn better from a video, click the link below to see step by step instructions.
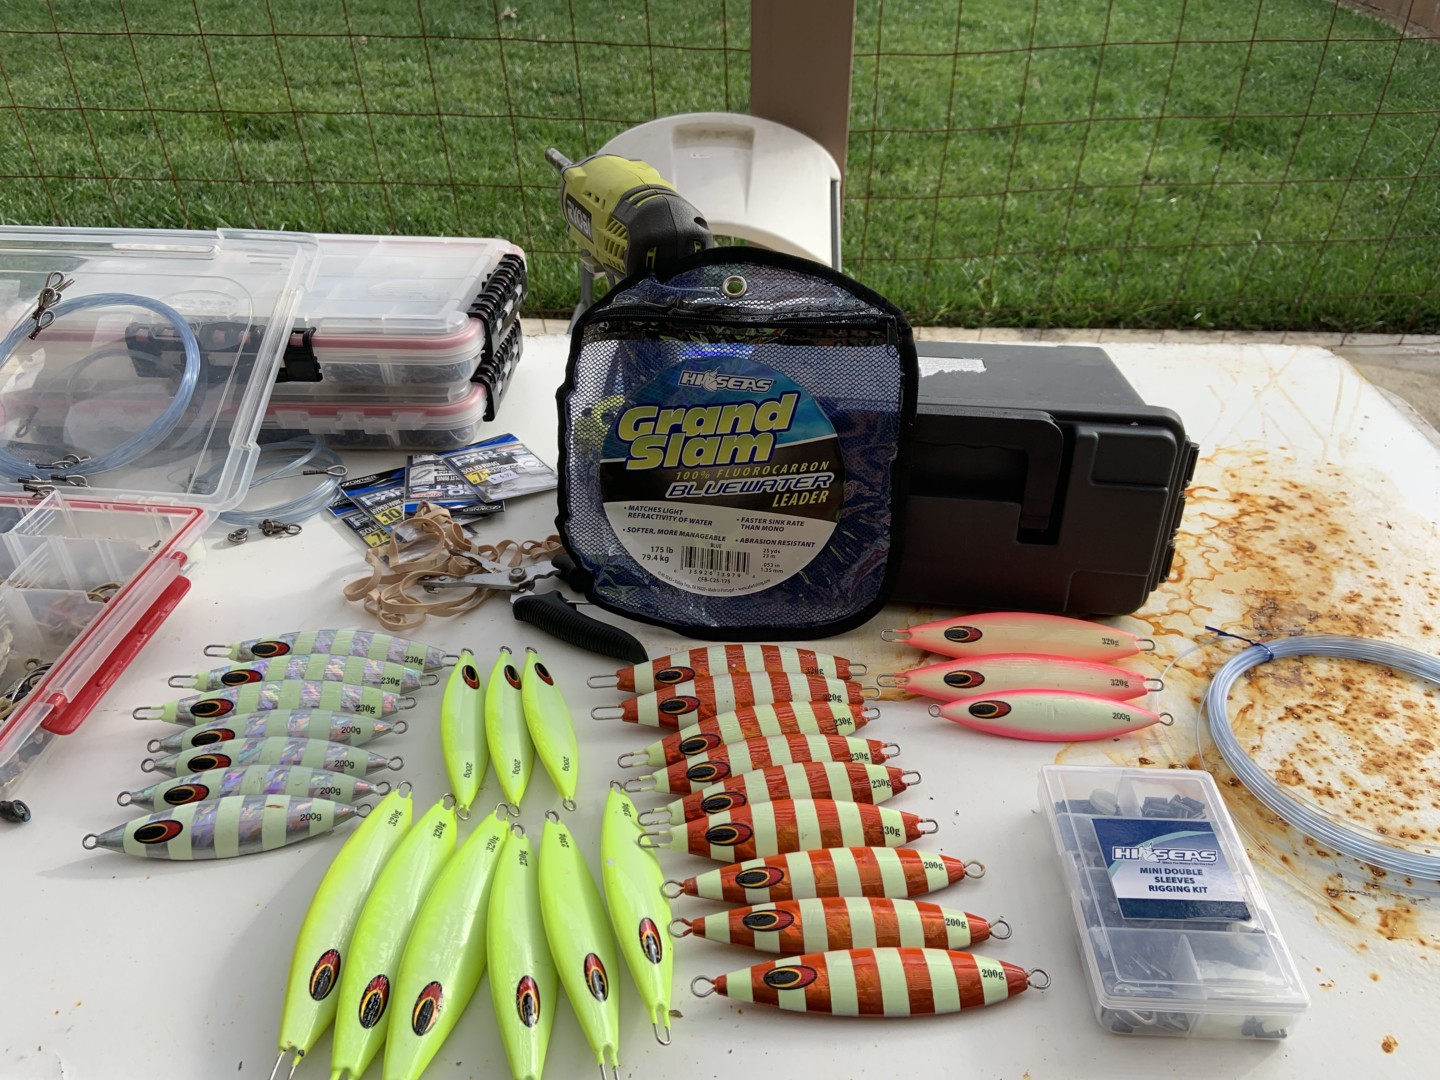
Tools and supplies needed
- Razor blades
- Loop puller needle of appropriate size
- Hollow needle of appropriate size
- Hollow braid of appropriate size
- Tac Glue (optional)
- 4” long Loop of 30# waxed braid to pull nail knot (Tied together double to form the loop)
- Knot pullers or wooden dowels
- 12-50# Green Solid Braided line. Spool of 100yards (Needs to be a color so you can gauge it getting tight)

Solid Braid to Hollow Braid
Step #1 – Fill your reel with the mainline of your choice. Whether stacking or not, the process is the same. If you are stacking leave enough room for the braid that you want on top.
Step#2 – Cut a 6 foot piece of the hollow connector that fits your application.
Step #3 – With a loop pulling needle, run the solid braid 2 feet up into the hollow braid. Push the needle out the side and then trim the end of the solid braid. Run your fingers down the hollow, locking the solid inside.

Step#4 – Lay your nail knot puller against your line about 3-5” ahead of the connection.
Step#5 – Tie your first of two 8-10 turn nail knots. Before tightening too much, slide the nail knot down towards the 2 lines coming together.
Step#6 – Tighten using knot pullers or dowel rods. Be careful not to break the line, but make it fairly tight. The braid used for the knots should change to a much darker color! (If you break the line while pulling, don’t worry, just tie another nail knot next to the broken or suspect nail knot).

Step #7 – Repeat step 4. Slide the nail knot 1/4 inch above the first nail knot and repeat Step 6.
Inserting mono/fluoro into hollow spectra
Step #1 – Cut the tip of the fluoro in the shape of a spear. It should be very pointy. I find its easiest to put the razor blade down on the fluoro and then pull on the fluoro instead of pushing down on the razor blade. This will make a very sharp angle cut.

Step #2 – Put the fluoro into the smallest hollow needle you can get it into. It doesn’t even have to go all the way in. It can truly just stick into the back of the needle. This will make it easier to thread it into the hollow.
Step#3 – Push the needle with fluoro attached 2 feet up into the hollow. Push the needle out the side and then push the fluoro back into the middle of the hollow. Run your fingers down the hollow locking the fluoro into the hollow.

Step #4 – Lay your nail knot puller against your line about 3-5” ahead of the connection.

Step #5 – Tie your first of two 8-10 turn nail knots. Before tightening too much, slide the nail knot down towards the 2 lines coming together. Slide a couple wraps of the nail knot off the hollow onto the fluoro and keep the rest on the hollow.
Step #6 – Tighten using knot pullers or dowel rods. Careful not to break the line, but make it fairly tight. The braid used for the knots should change to a much darker color! (If you break the line while pulling, don’t worry, just tie another nail knot next to the broken or suspect nail knot).
Step #7 – Repeat step 4. Slide the nail knot 1/4 inch above the first nail knot and repeat Step 6.
Step #8 – Dab the connection ½ inch above and to the connection with Tac Glue and let dry for 3-4 minutes (optional).
Now that you have done both of these connections there are endless possibilities with what you can put together. You can use it on Mono/Fluoro/Braid/Leadcore/Titanium coated wire/and even old trusty Dacron. It’s fun to learn and a pleasure to fish!! But just like anything you will get faster and better at this with practice! If you have any questions and for an in person how to instruction you can call us up or visit us at the Accurate factory. We would be happy to show you the factory and our tips and tricks to help get more fish on the boat!!
Justin Poe
Accurate Fishing
(888)222-8372
807 E Parkridge Ave
Corona, Ca 92879