Custom Color Reels
Proper Fish Care for your Catch
One important part of fishing when you are planning on bringing home table fare is to know how to take care of your catch once it is on the boat. This blog will give you some ideas of how fishermen go through the process of proper fish care on the boat. In addition, you will read about how a successful fish processor/restaurant entrepreneur does his daily care of fish coming into his facility. Proper care of fish once out of the water will give you some of the best eating fish you have ever had.
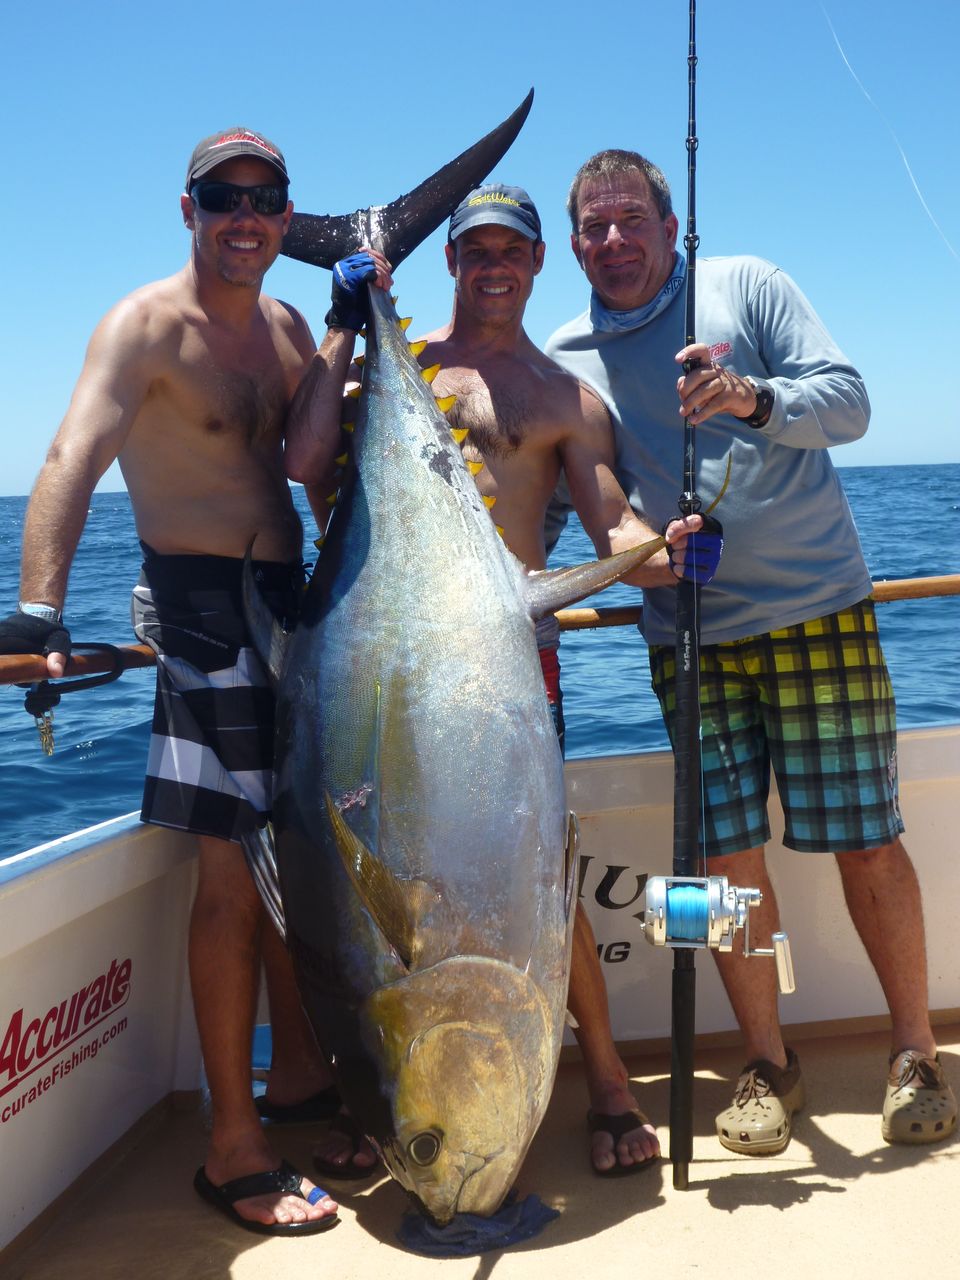
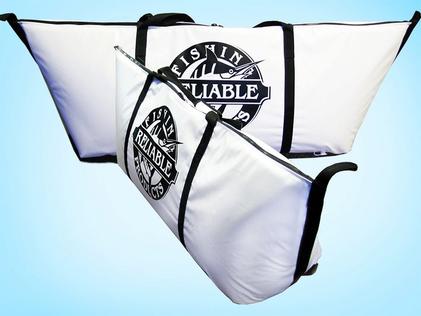 With today’s insulated kill bags, there are some really good brands on the market one of them being the Reliable Kill bags, and the other being Stash Bags that has an air barrier around the bag with an insulated core. Both bags keep fish frosty fresh during our trips. There are several different sizes, but the one thing to keep in mind is to buy a bag that will fit the largest possible gamefish you will be targeting as well as the quantity of fish you often take to eat. The Reliable bags come in a 20″ X 60″ size which will hold one good tuna 75 to 90 lbs. or a limit of good size ground fish, and they have a 24″ X 60″ size bag which is pretty universal size wise, and holds one decent fish with room for a few other fish to spare. If you are fishing larger tuna, they also make a 30″ X 90″ size that will hold a solid 200+ lbs. fish if necessary. These bags will hold ice for up to a couple days. One cool thing is the built-in drain plug on the bottom of the bag to get rid of any excess water. The Reliable bags are easy to fold up when not in use, and the Stash bags can be deflated, folded in half, and stored in the mesh bag they come with (pump and repair kit included). These bags run from $150 to $500.00 depending on size and are available at most tackle stores or online dealers.
 With today’s super coolers able to keep ice for days at a time, it is definitely worth the money to buy one that fits your fishing needs. It will pay for itself time and time again, keeping the fish fresh and firm, and in perfect shape to fillet. There are a couple different manufacturers making these types of coolers and we are always looking for the best value for the money. The RTIC coolers have worked very well for us and our needs on the boat. Yeti coolers are also excellent choices since they are the original brand that basically started the new cooler movement. These vary in price but are pretty similar in the ability to keep your catch very cold. If you get home late and are looking to clean your catch the next day, these coolers will keep everything perfect for the upcoming job at hand. Prices on coolers vary from $150.00 to $500.00 or more depending on size.
 The key to keeping your catch fresh is the ice, which is usually the first stop either the night before or the morning of the trip. For the average fisherman, brine is not part of the equation, so what we do is get bags of ice and leave them in the cooler or kill bag. We do not open the bags until we are putting fish in the cooler or kill bag. The amount of ice is dependent on the size of bag or cooler or length of trip. Those of you that have fish holds in your smaller boats, this is a perfect place to keep your ice. The key is to keep the ice in the bags solid as long as possible. In warmer climates, it will be a little tougher, but as we were saying the new coolers and bags are pretty insulated so it definitely better than previous coolers of years past. We try to keep bags and coolers out of the sun which does help prolong the life of ice in the coolers. If you see the ice melting slightly in the ice bags, puncture the bag slightly to release water, then loosen the plug in cooler or bag so it will leak out. The key is to keep ice whole as long as possible. Some guys use block ice, but we like to spread it over the fish to keep the entire fish cold, and block ice is tough to break up and spread in chunks.
Catching fish is absolutely the highlight of fishing, but it is very rewarding sharing the catch with family and friends. Fresh fish really goes a long way with people who are able to make an amazing dinner out of it. Fresh fish for people within your circle can create a constant following of friends asking when the next trip is and how you did. I see fresh fish used in trade among friends for favors, so it is something that is highly valued among friends and family.
Remember when fishing for table fare and the freezer, make sure you do not go over the limits set by the state. Practice catch and release any time you can, and know the size limits and seasons of your targeted gamefish. You are trying to sustain the fisheries to enjoy for another day and another generation.
Depending on the species of fish, there are different ways to care for the fish. Thomas Carson, owner of the Bear Flag markets, gave us some good information on fish care that we wanted to pass on in this blog.
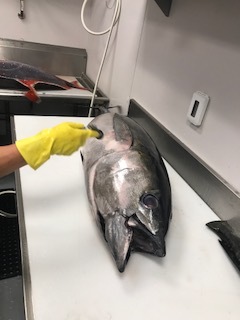
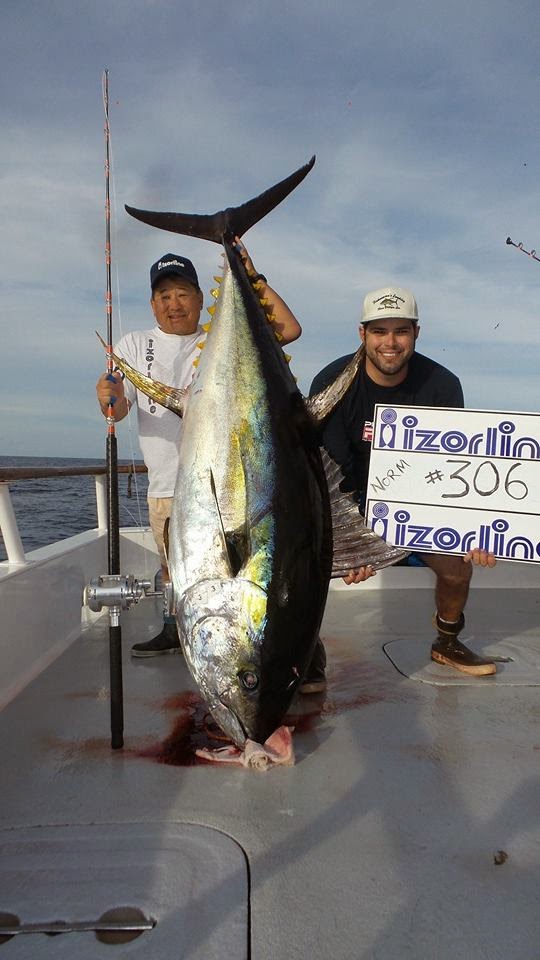
The key to keeping fish in top condition for eating is a two-step process. First, handling the fish as you put it on the boat is extremely important. With any fish, keeping them calm as they hit the deck will preserve the fish. That being said, it is key to either try to start the killing process on the side of the boat after they are secured, or immediately try to get them into an insulated kill bag so if they get crazy, there is something around them to protect the meat. Thomas also told us several commercial guys he knows will take a rubber mat and put it on the deck to protect the value of the fish as it hits the deck. The killing process is done by spiking them in between the eyes and using a larger piece of mono in the hole to go through the brain into the backbone, or by dragging them backwards which will also cool them down at the same time (in the case of bigger fish). Tuna have blood vessels that run through their meat, and once they hit the deck kicking their tail rapidly and slamming around, these blood vessels can be ruptured which will spread blood into the meat, which results in softer meat. The key to keeping tuna in prime shape is to put them into a kill bag or coffin then bleed them. There are several steps to bleeding fish but not all are necessary if one is done correctly and the blood is draining. With tuna, which is highly prized Sashimi / Sushi table fare, most fishermen will go through all the steps to insure proper fish care for maximum quality. Once the fish is calmly resting in the kill bag or on the deck, there are several ways to bleed them. First, there is a blood line running down the fish’s lateral line that by taking a knife and inserting it just above and behind the pectoral fin (side fin) you can hit this and bleed the fish. An additional way to bleed fish is to make an incision above the caudal peduncle, where the body of the fish meets the tail. On a tuna, it is above the finlets by the tail. This incision does not have to be super deep and should be done on both sides. By not making the incision too deep, you can still use the tail to move the fish around. It is critical to have the plug open in kill bag or coolers so the blood flows out of the bag or coffin.
To remove all the blood related products in the tuna, it is key to remove the gills and guts. The belly meat on the tuna is one of the most prized parts. What commercial tuna guys do is make an incision above the fish’s anus to cut the intestine connected to it, then go into the gill cavity and cut the gills free from the carcass.
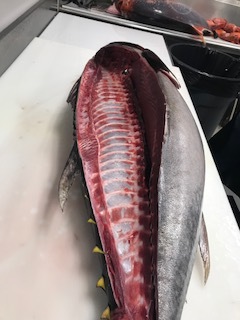
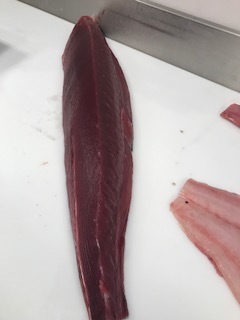
Once they are free you can pull the gills and guts out leaving the fish intact. The key thing that Thomas from Bear Flag stressed was to take a sealed bag of ice or plastic bottles with frozen water, and fill the belly cavity. Keeping the meat cold inside and out is extremely important as the tuna is a warm-blooded animal. He was very specific on making sure the back bone of the fish was well insulated with ice since that will keep the fish extremely fresh. The backbone covers the whole fish and he has found that by keeping the fish cold in the belly cavity with the backbone well iced, the condition of the fish stays perfect. He had another tip, especially for tuna, to let them sit in ice longer if possible to firm the meat up. He lets them sit for 24 hours and one interesting fact was that he cuts the loins off as he needs them. He believes the meat on a tuna stays fresher on the bone and its firmer, making it easier to fillet. If the fish is well iced, he will take loins and the belly section off up to a couple days after its been caught. Thomas maximizes the yield off every tuna and one of the secrets he has is once the tuna is filleted he takes a spoon and goes through the back bone as well as skeleton and scoops out additional meat. I have seen him do this on each side of an 80 lbs. tuna and he got another 5 to 8 lbs of meat that makes a killer poke.
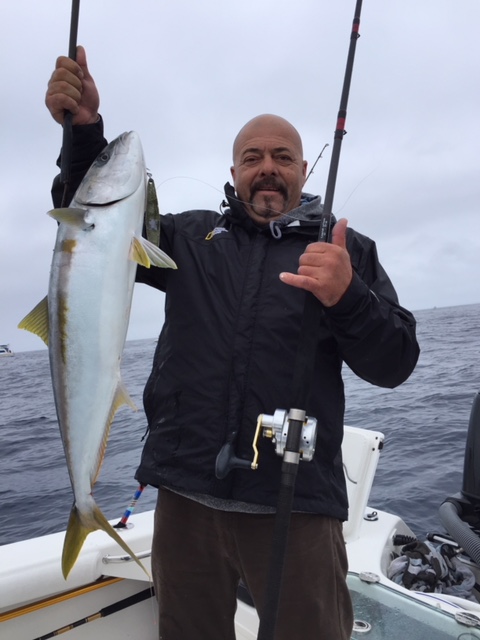
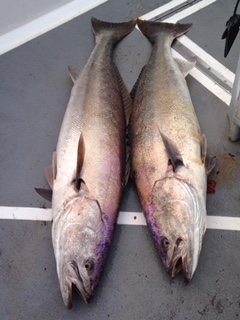
The same holds true with west coast Yellowtail. Once the fish is landed, he clips the gill and guts them immediately for top condition. The incision by the anus for removal of gills and guts is an excellent way to keep meat in pristine shape, but if you want to run a knife down the center of the belly, that will work equally well. At Bear Flag, they let the fresh Yellowtail sit for 24 hours so the meat will firm up. The meat at the time of the catch will be a reddish color but by letting it sit overnight it will become clearer, plus it will firm up for a better fillet. Thomas had suggested if you are looking for sashimi grade yellowtail, once you have the fish gilled and gutted, pack it with fresh crushed ice in the belly cavity. Make sure they are buried in ice for top quality eating meat.
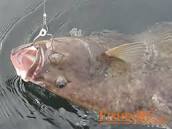
Halibut or flounder should be spiked in between eyes and can be bleed the same way as tuna by pulling a gill or an incision by the tail. It is key to get all slim off the fish prior to filleting them. The slim will carry bacteria and can be accidentally pushed into the meat by the blade if not wiped off. Bear Flag will lightly scrub Halibut prior to cleaning and rinsing the rag often to remove any slim on rag. Bleeding them is important to have the best tasting fish.

Snapper / Rockfish /Grouper are very popular on all coasts both among recreational anglers and in the restaurants as a premiere dish. These fish need to be Gilled and gutted right away with bleeding being less important. Get them on ice and let the meat firm up for clean cuts. When filleting them it is better to cut around the rib cage for boneless fillets. Thomas had suggested that fish with scales are better in a slushy ice to firm up meat and stay fresh. With Snapper and Rockfish, people like to cook it with the skin on so it is important to make sure you scale them thoroughly. One little scaling trick Thomas uses is to take a clear plastic bag and put the snapper in the bag. Take your scaling tool and scale the fish in the bag. All the mess you are usually dealing with upon clean-up is done and contained in the bag. No matter if you are cooking it with the skin on or nice clean fillets, these bottom fish are excellent table fare. Another tip from Thomas of Bear Flag was that on bigger grouper, the skin should be scrubbed prior to cleaning to remove any type of bacteria that might exist on the body or in the slim.
 White Seabass are excellent fish to eat and extremely popular in restaurants. Processing the fish is the same as the mentioned above. Clean the outside of the fish with a brillo pad or rag prior to cutting them with a knife. Once cleaned, fillet them along back bone and around rib cage. You can remove the fillet with skin on it and actually cut fillets off the skin to the size you require making it easier to deal with versus one big slab. The skin will hold it together until the last fillet is cut. These fish are beautiful in person and excellent cooked about any way. If you want a cool treat, cut the head in between the eyes and remove the White Seabass stones. They use these for balance and are considered eoliths that will tell the age of the fish.
The Mahi Mahi, Dolphin, or Dorado is also an excellent eating fish. Caring for the dorado is the same as the other fish. Try to keep them from beating the meat up as they come on the boat. Stick them in a kill bag or cooler to calm them. Once they calm down pull a gill raker and make sure the drain plug is open on bag or cooler. Bleeding them is key and letting them stay on ice to firm the meat up works well. As for processing the fish, you can gut them, but just filleting the fish is fine, cutting down the backbone, around the head (behind the collar bone) and down the bottom of the fish. You can fillet the fish and cut the skin off the meat, or you can take a pair of pliers to pull the skin off the fillet. Either way works fine, it is up to you. This is excellent eating fish and some of the most popular fish in the world since it is in all oceans.
One key thing to remember when processing fish is to keep it out of fresh water. Do not dip or rinse your fillets in fresh water since it has been known to break down the meat. To keep the fish fresh and firm use saltwater for dipping or rinsing.
The last thing to think about when processing your fish is storage of your catch. Many serious anglers buy Food Saver vacuum sealers to store their fish in the freezer taking all air out of the bags. These things are great, with some costing hundreds of dollars, but are definitely worth the price if you are fishing a lot, and plan on freezing your catch. The other way I have seen a lot of anglers remove air is to buy the freezer storage bags from zip lock, then Fill a bucket full of water and place your fillets in the bag with the zipper of the bag facing up. Slowly put the bag into the water, pressing it down so the zipper is just above the water level. This will push all the air out of the bag and seal the bag for storage. It is not the best for long periods of time, but it works great to store for shorter periods of time.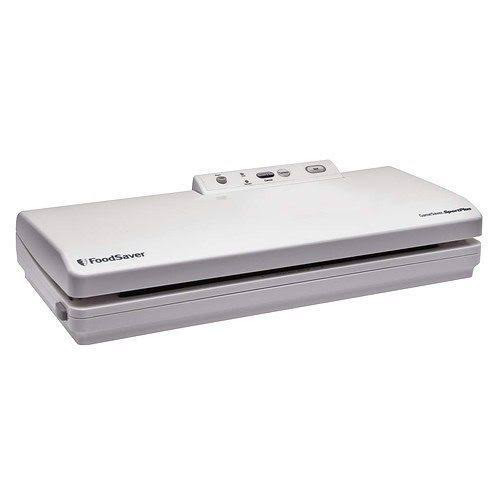
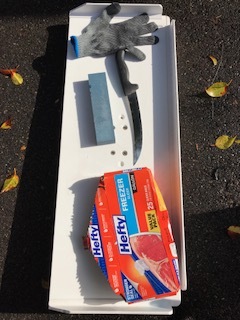
The very basics to Processing on the skiff will require a sturdy fillet table that fits in rod holder, or on bait tank. A good knife that is sharpened correctly to hold an edge is also necessary. This is another blog in itself about sharpening knives for a lifetime of cutting. A stone with both a coarse and fine side to sharpen your blades between cutting tough skin and bones is important as well. The metal glove is important to protect your hand from the knife blade, but also from the spines of bottom dwelling fish that can make you extremely sick. And lastly, you need zip lock bags to store your pristine fillets in after processing the fish.
Remember prior preparation always helps achieve the outcome you planned.
Another part of processing is thinking ahead about how much fish you need for each meal. You can process the fillets into meal size packs for the family, packs to give away, or smaller packs for individual meals. It’s smart to think ahead, as it will save you time and fish in the long run. One thing we do is write the date and species with a permanent marker on all the bags so you know the catch date and type of fish. This helps if you are organizing the freezer, or the older fish out versus anything caught recently.
Some key things to think about when caring for your catch:
- Do not rinse freshly cleaned gamefish fillets in freshwater
- Make sure you have plenty of ice for the day of fishing
- Make sure your drain plug is open on your kill bag or cooler
- Keep the ice in a separate bag if possible versus the one you are putting fish in right out of the water
- Process fish on the deck when you can as you catch them
- Pack them with ice in the stomach cavity depending on species and bury them in ice all around
- Be thinking ahead when dealing with bigger fish as safety is your first concern
- Once the processing starts, make sure you have a sharp knife to fillet with
- If possible, have a couple knives to alternate between and make sure your sharpening stone is wet
- Sharpen your knife frequently like every other fish if cutting coarse skin and bones
- Keep zip lock bags on the boat with a clean bucket
- Keep a brillo pad or rag to wipe fish down after spraying them with saltwater wash down
- Make sure you have a metal glove to cut the rockfish with due to the spines and poison they inflict
- Handle your fish carefully and the quality will be there
We hope this information helps you care for your catch. We want to thank Thomas Carson of Bear Flag in Newport beach for his information!
We hope all your lines are tight ones.
All the Best.
Team Accurate